When photographing panoramas it's important to minimize any color and brightness
differences between the source images. Although PTGui attempts to equalize exposure differences
by gradually blending the images, the differences still remain visible in the form of a
gradual change in color or brightness. This is particularly noticable in plain
colored parts of the panorama, such as blue sky. Also, color and brightness differences
make it more difficult to retouch a panorama
since the overlapping layers don't have matching colors.
Most color and brightness variations can be prevented by setting the camera to manual exposure mode and by selecting a fixed white balance preset. But this does not prevent one cause of exposure differences, namely vignetting.
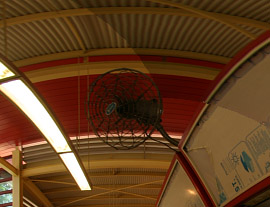
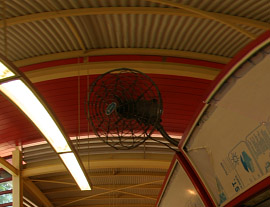
Vignetting is a reduction in brightness near the corners of an image. Most camera lenses suffer from a certain amount of vignetting, in particular at wider apertures. For more information see Vignetting at Wikipedia. The following image is an example of bad vignetting:
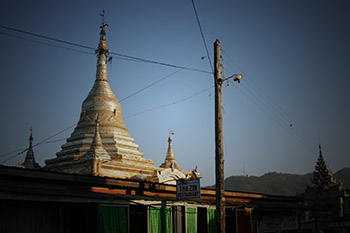
A feature (available only in the Pro version of PTGui) is automatic color and exposure adjustment, which corrects vignetting and is also able to correct flare, exposure differences and white balance differences. The correction is fully automatic; by analyzing the contents of overlapping images, PTGui Pro can determine the vignetting characteristics of the lens and compensate for it. We will show it with an example:
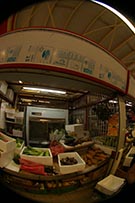
We have the following 4 source images (taken at an indoor market in Singapore):
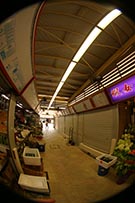
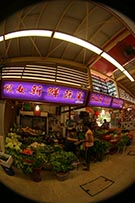
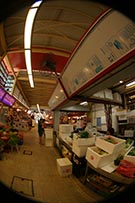
You can download the images and project files here (9 MB .zip file).
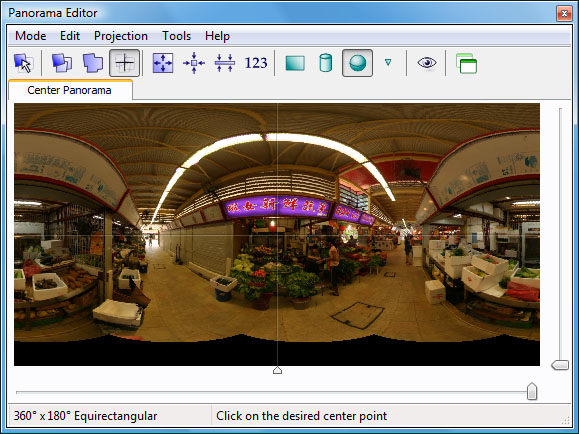
After aligning the images and adding a few control points, the panorama looks like this (step1.pts):
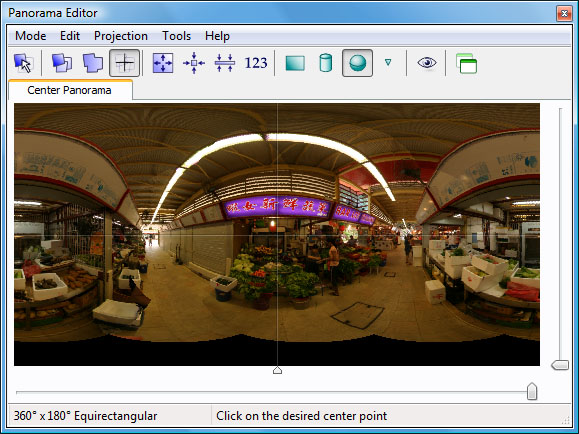
Although the vignetting is not extreme, it is causing a visible difference in brightness:
To correct the vignetting, simply press the Optimize now button on the Exposure / HDR tab in PTGui Pro. After analyzing the images, PTGui Pro shows the vignetting curve (leftmost graph):
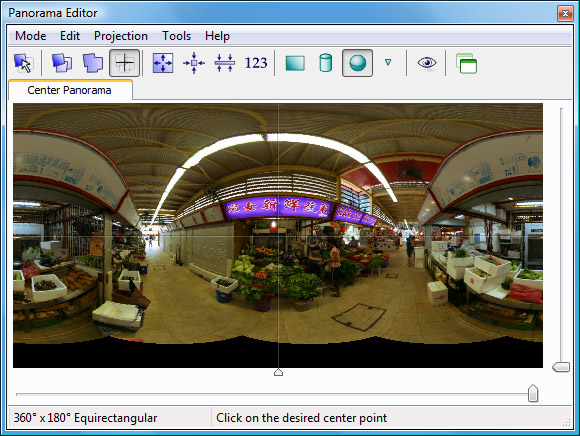
Looking at the panorama editor now, the vignetting has disappeared completely (step2.pts):
Here's the same detail again after vignetting correction:
Note that this is a 'raw' overlap of the two layers without any blending!
Also new in PTGui Pro 7.4 are sliders for adjusting the exposure and white balance of the panorama as a whole. We can use it to reduce the yellow-ish tint of the panorama and make it a little brighter:
The result is instantly visible in the panorama editor (step3.pts):
More information about exposure and color correction is available in the on line help for the Exposure / HDR tab in PTGui Pro.
View the resulting panorama interactively.
Download the trial version of PTGui Pro
Most color and brightness variations can be prevented by setting the camera to manual exposure mode and by selecting a fixed white balance preset. But this does not prevent one cause of exposure differences, namely vignetting.
Vignetting is a reduction in brightness near the corners of an image. Most camera lenses suffer from a certain amount of vignetting, in particular at wider apertures. For more information see Vignetting at Wikipedia. The following image is an example of bad vignetting:
A feature (available only in the Pro version of PTGui) is automatic color and exposure adjustment, which corrects vignetting and is also able to correct flare, exposure differences and white balance differences. The correction is fully automatic; by analyzing the contents of overlapping images, PTGui Pro can determine the vignetting characteristics of the lens and compensate for it. We will show it with an example:
We have the following 4 source images (taken at an indoor market in Singapore):
You can download the images and project files here (9 MB .zip file).
After aligning the images and adding a few control points, the panorama looks like this (step1.pts):
Although the vignetting is not extreme, it is causing a visible difference in brightness:
To correct the vignetting, simply press the Optimize now button on the Exposure / HDR tab in PTGui Pro. After analyzing the images, PTGui Pro shows the vignetting curve (leftmost graph):
Looking at the panorama editor now, the vignetting has disappeared completely (step2.pts):
Here's the same detail again after vignetting correction:
Note that this is a 'raw' overlap of the two layers without any blending!
Also new in PTGui Pro 7.4 are sliders for adjusting the exposure and white balance of the panorama as a whole. We can use it to reduce the yellow-ish tint of the panorama and make it a little brighter:
The result is instantly visible in the panorama editor (step3.pts):
More information about exposure and color correction is available in the on line help for the Exposure / HDR tab in PTGui Pro.
View the resulting panorama interactively.
Try it!
Download sample images and project files (9 MB Zip file)Download the trial version of PTGui Pro